Blog #24 Cully Swansen on The EZ Knitting Calculator for Surprise Jackets
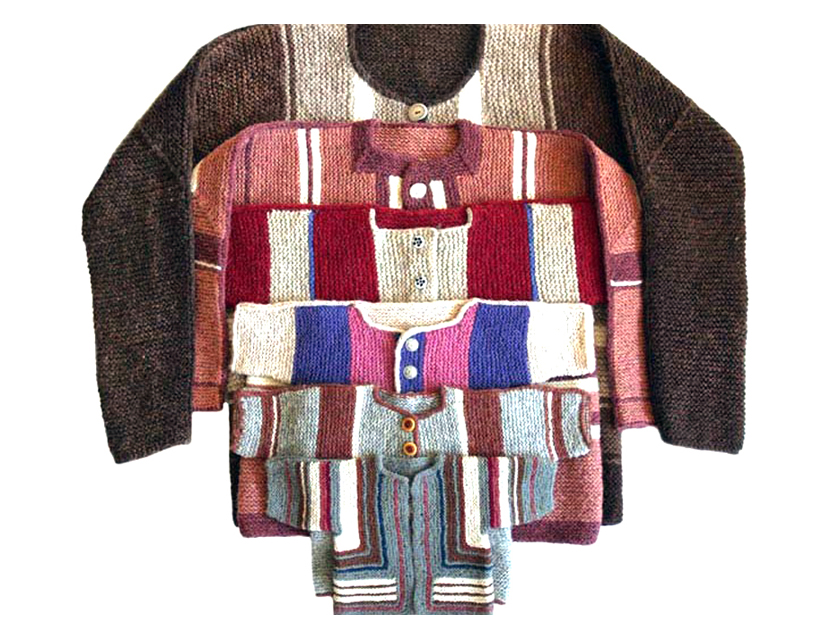
I'm pleased to be able to 'borrow' Meg's blog to expound on a detail pertaining to Elizabeth Zimmermann's most popular design, her Surprise Jacket.
In the interest of brevity, I will first note what is new in the EZ Calculator for Surprise Jackets, then write a bit about the knitty-gritty for those who might be interested.
(For those who don't know, the Calculator is an online product that allows you to enter a few simple measurements to produce a pdf with row-by-row instructions for a custom fitted Surprise Jacket - any size from newborn to large adult.)
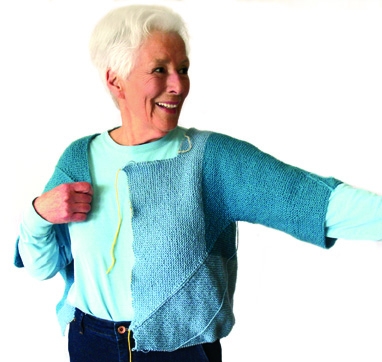
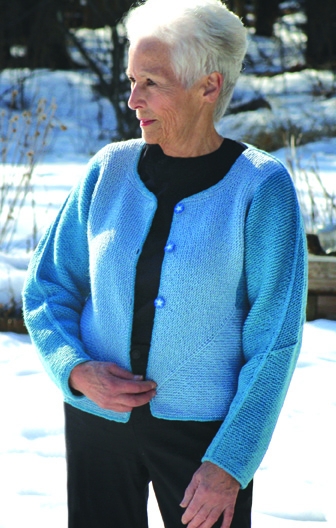
The important announcement is: For larger Adult Surprise Jackets, the Calculator now begins the sleeve shaping in the upper arm*. The very pleasing result is that for Jackets with a deep armhole, the sleeve can now be tapered in a similar manner to a conventionally constructed sweater. No longer will you end up with a deep sleeve for the first 1/3 to 1/2 of the sleeve length, followed by a drastic slope to the narrower cuff.
You need only add one new dimension to the entry page, measured from a favorite-fitting sweater, and the Calculator does the rest. If you have already purchased the Calculator, this update is automatically available to you now (simply log on as normal and you will see the updated input page for the Child/Adult size).
*Note: If you have previously used the Adult instructions and loved the results, you can get the identical directions for the original shape in the updated version by simply entering your wanted armhole depth for the new dimension (this is explained on the ASJ input page).

The theory behind this shaping is described in Chapter 4 of my book, The Complete Surprise. I am very happy to now have this feature incorporated in the Calculator - it is the next step in an evolution of the Adult Surprise Jacket: From using the width only to figure the numbers, to an addendum to help with narrow sleeves, to the independent variables of width and armhole depth, and now being able to shape the sleeve through its entire length.
Bonus tip: Looking at the distributions of sleeve decreases in Surprise Jacket sleeve extensions. (Doesn't that sound like someone's dissertation?)
When you knit up around the truncated sleeve on the Surprise Jacket you will have a certain number of ridges to knit to get to your wanted sleeve length; you will also have a certain number of stitches to decrease to get to your wanted cuff circumference.
The Calculator divides the number of stitches you need to decrease by the number of ridges you have yet to knit to determine the frequency of decreases. For instance, say you need to knit 40 more ridges and you need to decrease 60 stitches. You will decrease 2 stitches at a time (one each side of a marked underarm point), therefore you will be working 30 decrease ridges (60 sts divide by 2), and you have 40 ridges in which to work those decreases.
The Calculator will tell you to decrease every ridge until you are at your wanted stitch count, then you will have 10 unshaped ridges to work to get to wanted sleeve length.
This is where you could, if desired, go beyond the capabilities of the Calculator in shaping the sleeve. You could more evenly distribute the decreases by (in this case) decreasing every ridge 20 times, then (with 20 stitches left to decrease and 20 ridges in which to do it) decrease every 2nd ridge for the rest of the sleeve.
This custom approach would distribute your decrease throughout the entire length of the sleeve for a slightly more balanced taper.
I encourage you to look over the decreases required in your sleeve extensions, and play with the spacing if you like - remember to write down what you do on the first sleeve, so you can duplicate it on the 2nd!